What happens after osseointegration?
Osseointegration (OI) is a life-changing procedure. It is an important step towards greater mobility, greater confidence in your prosthesis, and restored independence. The next step in your treatment is equally vital: rehabilitation. When you choose Relimb™ you also gain access to our rehabilitation partner, Dorset Orthopaedic, a clinic renowned for their advanced rehabilitation services and exceptional patient care

Every patient we see has unique needs, and our approach to rehabilitation is no different. Rehabilitation generally takes place in 3-phases, but you will receive a plan that is created just for you.
For an upper limb (arm or forearm) amputee
Phase 1 – Intensive Rehabilitation
- Begins 6 weeks post-operation, depending on the quality of your bone.
- Takes place at one of Dorset Orthopaedic’s dedicated residential rehabilitation centres, giving you 1:1 support and helping you to focus on your goals without the distractions of daily life.
- Pain from the wound is normal at this stage. Your therapists will constantly monitor your progress and adapt your program depending on the level of pain you experience.
Your intensive rehabilitation plan will involve three key activities:
01
LOADING
The goal is to build up the weight going through your bone-anchor. We will increase the load at your pace and comfort level, starting at 1 kg for 20 minutes twice daily. This weight will increase by 0.5 kg every 3 days until we reach the weight of your prosthesis (5-6 kg)
02
DISTRACTION
Distraction is achieved by attaching weights to the end of the implant using a loading adaptor while standing and holding the limb still for 10 minutes, twice daily. Once you reach 4 kg you can start dynamic loading: walking with the weighted loading adaptor and swinging the arm to recreate the same pendulum effect that would occur when wearing a prosthesis.
03
REHABILITATION
Following your exercises, you will receive effusion management and electrical stimulation. Effusion management involves the application of a cold compress or massage of the soft tissues at the end of your residual limb. Electrical stimulation also helps to improve muscle activation and tone.
Phase 2 – Home Loading
- Takes place at home with an exercise sheet and a loading plan, combined with weekly or bi-weekly 1-hour check-up appointments with your therapist.
- You will be performing gradual loading exercises for around 4 weeks to prepare you for the required weight to use your prosthesis.
- Continue to monitor your temperature and any changes in colour or tenderness around your stoma. If you have any concerns, contact us or your GP for an urgent review.
Phase 3 – Your Prosthesis
- We will carefully fit and align your definitive (final) prosthesis.
- You can only move onto this stage once you have reached the necessary weights in the previous phase.
- We will monitor you closely to ensure you do not experience bony pain when your prosthesis is attached.
Every patient we see has unique needs, and our approach to rehabilitation is no different. Rehabilitation generally takes place in 3-phases, but you will receive a plan that is created just for you.
For an upper limb (arm or forearm) amputee
Phase 1 – Intensive Rehabilitation
- Begins 6 weeks post-operation, depending on the quality of your bone.
- Takes place at one of Dorset Orthopaedic’s dedicated residential rehabilitation centres, giving you 1:1 support and helping you to focus on your goals without the distractions of daily life.
- Pain from the wound is normal at this stage. Your therapists will constantly monitor your progress and adapt your program depending on the level of pain you experience.
Your plan will involve three key activities:
01
LOADING
The goal is to build up the weight going through your bone-anchor. We will increase the load at your pace and comfort level, starting at 1 kg for 20 minutes twice daily. This weight will increase by 0.5 kg every 3 days until we reach the weight of your prosthesis (5-6 kg)
02
DISTRACTION
Distraction is achieved by attaching weights to the end of the implant using a loading adaptor while standing and holding the limb still for 10 minutes, twice daily. Once you reach 4 kg you can start dynamic loading: walking with the weighted loading adaptor and swinging the arm to recreate the same pendulum effect that would occur when wearing a prosthesis.
03
REHABILITATION
Following your exercises, you will receive effusion management and electrical stimulation. Effusion management involves the application of a cold compress or massage of the soft tissues at the end of your residual limb. Electrical stimulation also helps to improve muscle activation and tone.
Phase 2 – Home Loading
- Takes place at home with an exercise sheet and a loading plan, combined with weekly or bi-weekly 1-hour check-up appointments with your therapist.
- You will be performing gradual loading exercises for around 4 weeks to prepare you for the required weight to use your prosthesis.
- Continue to monitor your temperature and any changes in colour or tenderness around your stoma. If you have any concerns, contact us or your GP for an urgent review.
Phase 3 – Your Prosthesis
- We will carefully fit and align your definitive (final) prosthesis.
- You can only move onto this stage once you have reached the necessary weights in the previous phase.
- We will monitor you closely to ensure you do not experience bony pain when your prosthesis is attached.
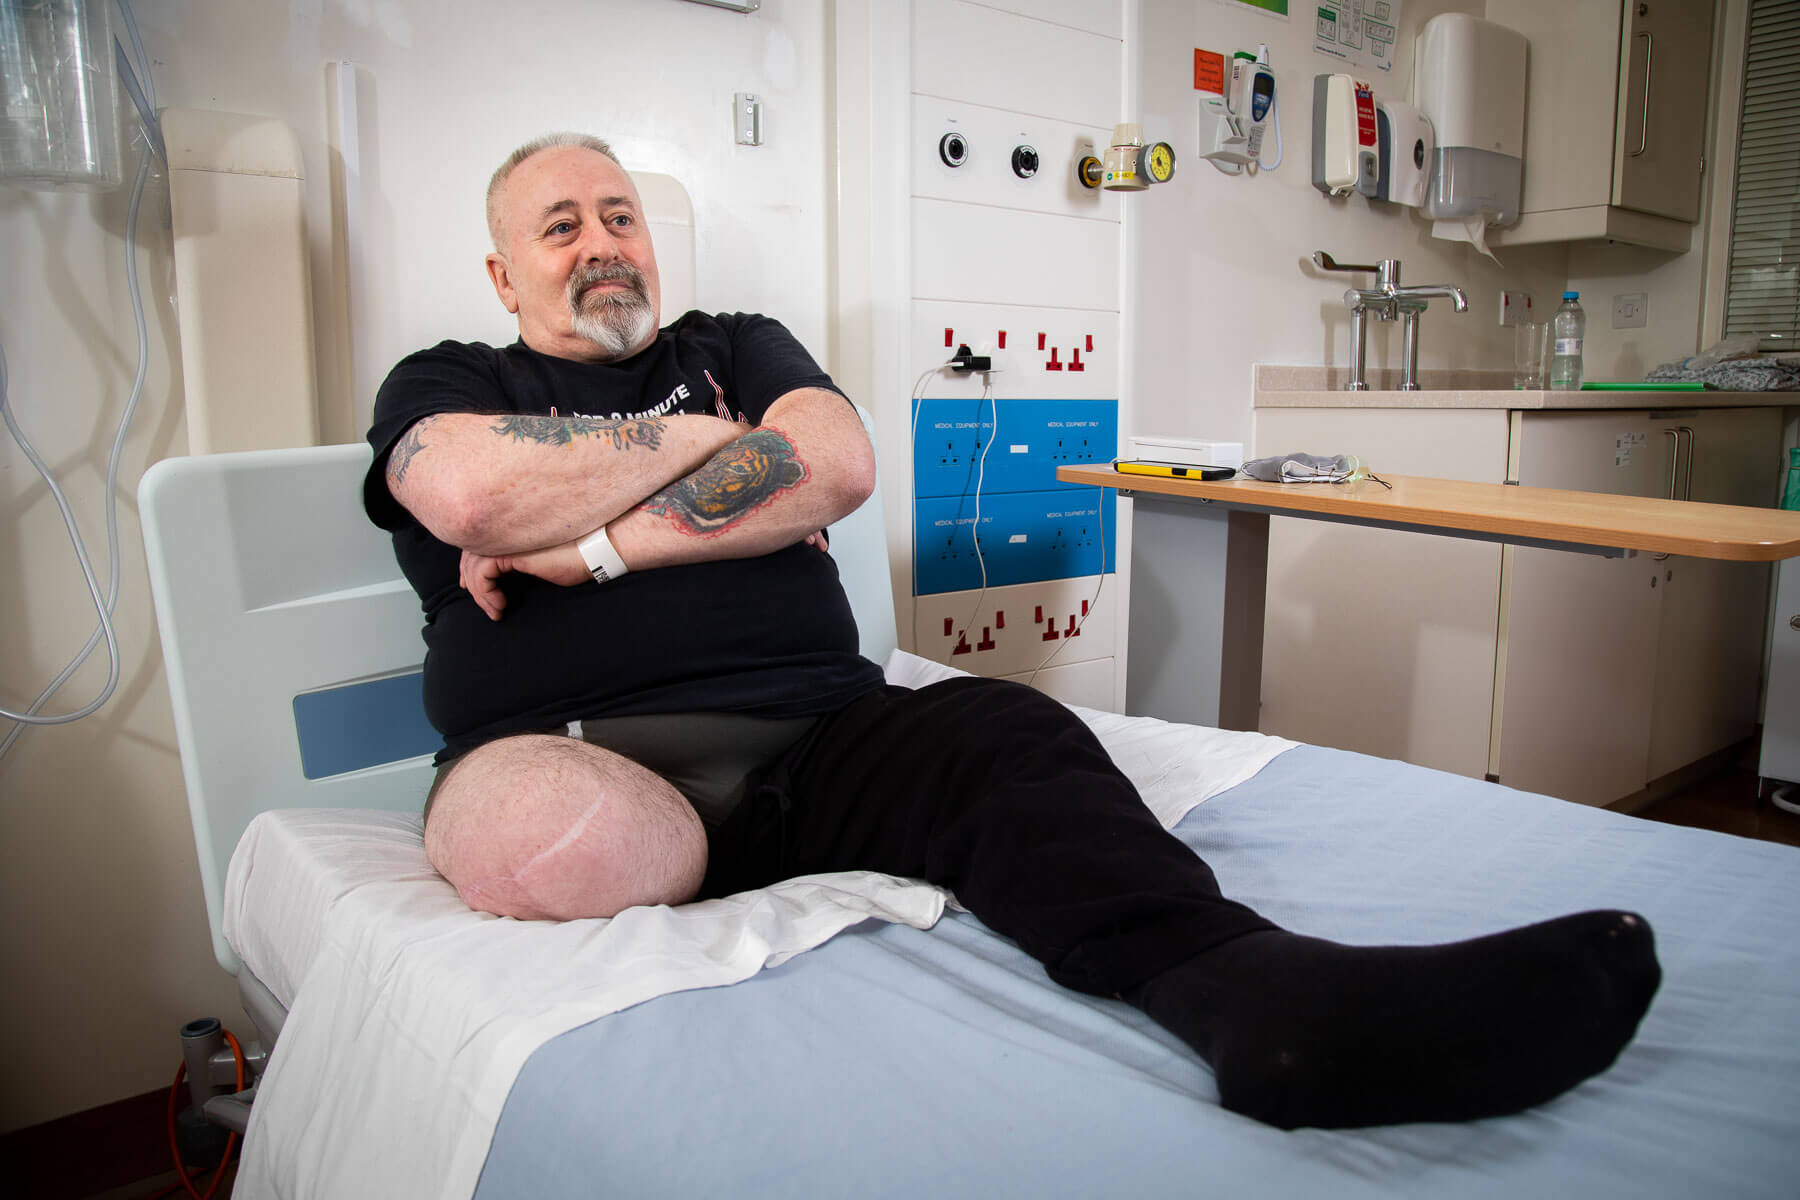
For a lower limb (leg or thigh) amputee

Phase 1 – Loading and Weight Bearing
- May begin just a few days after surgery, depending on the quality of your bone.
- You will start by spending 5 days (3 hours per day) with your Dorset Orthopaedic clinician to help you reach your initial goals safely. Your progress will be closely monitored, and your plan will be adapted depending on your progress and pain level.
- Your first steps toward loading will involve standing on a bathroom scale using a loading device attached to your bone-anchor. You may start by loading up to 20 kg, increasing until you reach 50% of your body weight or 50 kg. This will progress by 5 kg per day until you reach 80-90% of your bodyweight.
Phase 2 – Your First Steps
- If your amputation took place below the knee, you may begin walking with your prosthesis as early as 6 weeks after your procedure.
- If your amputation was above the knee, you will be fitted with a light prosthetic leg for gait training as quickly as 6 weeks after surgery. You will also start taking your first steps, aided by parallel bars. When it is safe, you will begin walking with two crutches for support.
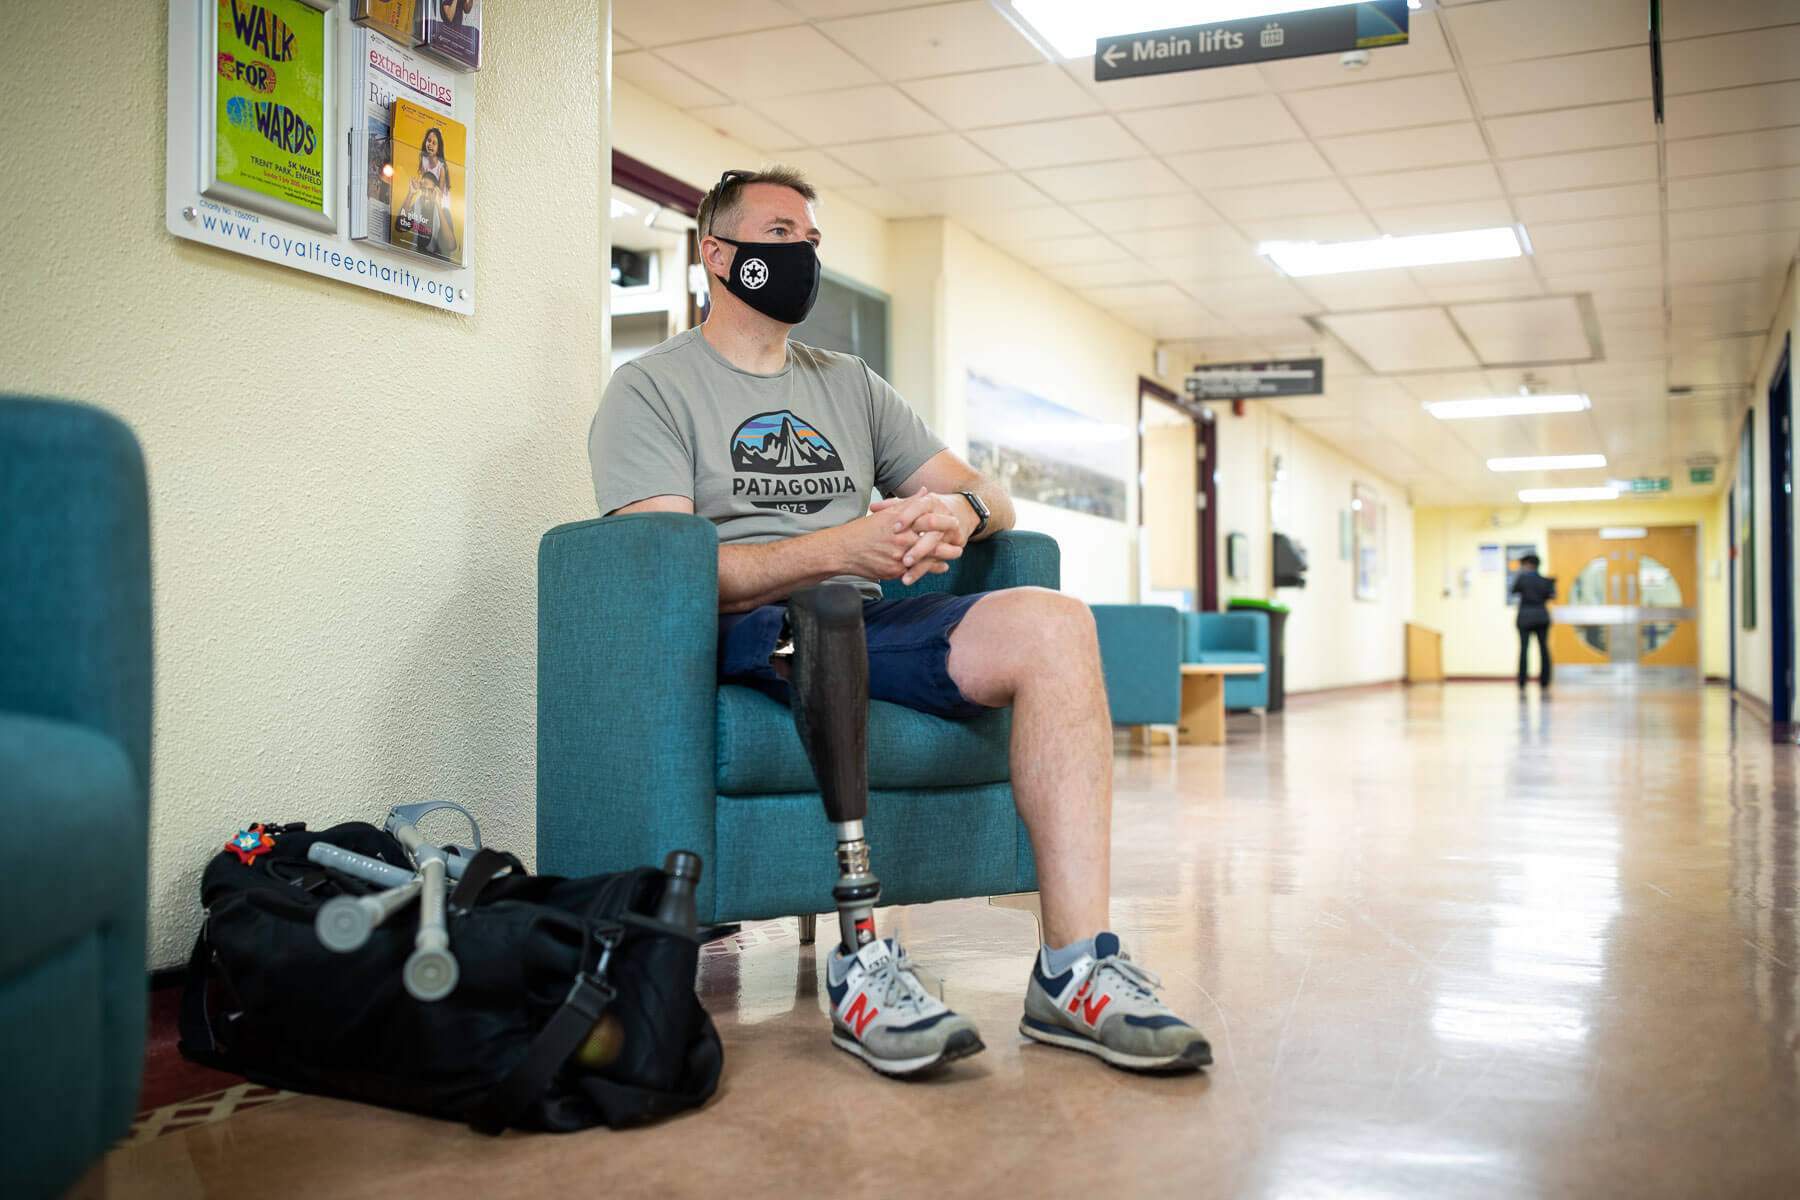
Phase 3 – Your Prosthesis
- At this stage, the rehabilitation team will fit and align your definitive prosthesis. Once this is done, they will aim to get you walking with two crutches for 6 weeks and one crutch for another 6 weeks, before walking unaided. It is vital that you follow these measures to minimise the risk of falls and prevent premature loading of your implant, which could fracture the residual bone.
- You must also avoid any high-impact activities during the first 12 months after your surgery.
For a lower limb (leg or thigh) amputee

Phase 1 – Loading and Weight Bearing
- May begin just a few days after surgery, depending on the quality of your bone.
- You will start by spending 5 days (3 hours per day) with your Dorset Orthopaedic clinician to help you reach your initial goals safely. Your progress will be closely monitored, and your plan will be adapted depending on your progress and pain level.
- Your first steps toward loading will involve standing on a bathroom scale using a loading device attached to your bone-anchor. You may start by loading up to 20 kg, increasing until you reach 50% of your body weight or 50 kg. This will progress by 5 kg per day until you reach 80-90% of your bodyweight.
Phase 2 – Your First Steps
- If your amputation took place below the knee, you may begin walking with your prosthesis as early as 6 weeks after your procedure.
- If your amputation was above the knee, you will be fitted with a light prosthetic leg for gait training as quickly as 6 weeks after surgery. You will also start taking your first steps, aided by parallel bars. When it is safe, you will begin walking with two crutches for support.
Phase 3 – Your Prosthesis
- At this stage, the rehabilitation team will fit and align your definitive prosthesis. Once this is done, they will aim to get you walking with two crutches for 6 weeks and one crutch for another 6 weeks, before walking unaided. It is vital that you follow these measures to minimise the risk of falls and prevent premature loading of your implant, which could fracture the residual bone.
- You must also avoid any high-impact activities during the first 12 months after your surgery.
Taking care
How to take care of yourself in the long term after OI
Ongoing rehabilitation
The entire rehabilitation process takes 12-18 months. We advise you to work closely with your prosthetist and physiotherapist on a regular basis to improve your gait, balance and confidence.
Know your components
The rehabilitation team will explain how each component of your implant and connector works and will show you how to get the best out of your treatment through regular maintenance and servicing of the connector. You can also purchase a kit to tighten any components of the connector that become loose as your activity levels increase.
Learning tips and tricks
Your prosthetist is your greatest ally for understanding how your implant and connector work together. They will show you how the safety release mechanism works and how to correctly replace or adjust any components if you experience a fall or accident.
How to deal with discharge
You are likely to see significant fluid discharge from the stoma (the location where your implant enters your skin) during the first 3-6 months. It will never dry up completely and will not fully mature for up to 12 months. Keep the area clean by using a split gauze dressing.
Daily cleaning
Once you leave the hospital, you should begin showering every day with unscented soap and water. Ideally, you should use a hand-held shower head to rinse off your stoma daily. To remove dried blood and discharge from the metal components, you may wish to use a toothbrush while showering.
Places to avoid
We recommend that you keep your stoma and the bone-anchor out of a bathtub, sea water or public swimming pools for at least 1 year after surgery – or until we give you the all-clear to do so.
Avoiding and managing infections
If you suspect you may have an infection (signalled by pain, redness, fever or unusual fluid discharge) please contact our team immediately. We will guide you on the best route of management.
Access support
OI surgery is a lifelong commitment. We are proud to be part of part of an international OI network, and endeavour to link all our patients with appropriate and accessible support, wherever they may be.
